Friday, 23 January 2015

Steaming all-purpose flour

Stemer
steamer

Steaming flour at atmospheric pressure for 15 minutes will denature the gluten and  reduces the water absorbing capacity from 58.4% to 45.0%.
Steaming of all purpose flour increases the viscosity of batter. Batter made with steamed flour for coating and deep frying results in overall improvement in quality and texture of the finished product. Steamed flour is used in making some Indian snacks and sweets. 
Steamed flour has the following characteristics:
  • mixes well with water without forming lumps
  • high water uptake
  • consistent flow characteristics
  • no enzyme activity resulting in loss of viscosity
  • no water separation while standing
  • lower microbial load
If you add plain water or warm water to all purpose flour it will become a kind of glue. So we cannot make dough with just all purpose flour and plain water. If we steam or roast the all purpose flour we can make a usable dough just with plain water. Generally roasting is easier than steaming.


Today I am going to steam the flour. 


                                 Recipe summary
                                           For
                           Steaming all-purpose flour

Preparation time : 15 minutes

Cooking time : 45 minutes

  1) First sift the flour. This will aerate the flour and remove any unwanted materials. 
Sifting the flour
Sifting the flour


 2) Then place a drinking glass in the centre of a steamer and then put the flour in the streamer around the glass. 

Place a glass and add sifted flour
Place a glass 
and add sifted flour


Do not compact it but leave it as fluffy as possible so that steam will pass through it easily.
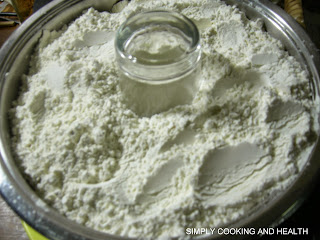
Now all the flour has been added to the steamer


Now all the flour has
 been added to the steamer

When all the flour has been added to the steamer, remove the glass before steaming and the centre hole provides space for the steam to penetrate the flour.


Steamer if filled with flour and glass removed
Steamer if filled with flour 
and the glass removed


3) When  you remove the glass hold the top part of the glass and shake it round a little and remove so that the flour does not fall in the center space.


4) When you cover and steam the flour the steam will condense on the lid or cover and fall into the flour and make a mess of it. So cover the flour with a paper with a center hole so that the condensed water will be absorbed by the paper. Today I am going to use a clean brown paper. You can use any kind of absorbent paper like news paper. If you have it is better to use a plain paper. Fold and cut the paper according to the size of your steamer. 

 Fold a paper into half and then make a second fold and then again a third fold. Now you can make a small cut at the  top to make a centre hole. We cut in the centre to expose the opening when we remove the glass. Lastly you can make a cut at the bottom of the paper according to the size of your steamer. 
Make a cut at the top
Make a cut at the top.


5) Cover the flour in the steamer with the cut paper. Then place the lid on and steam.
Cut in the centre to expose the opening when we remove the glass
Cut in the centre to expose the
 opening when we remove the glass.


Glass removed. The paper covers the flour but exposes the center hole
Glass removed. The paper covers the 
flour but exposes the center hole

6) Boil the water in the bottom pan of the steamer. When the steam begins to come out of the pan place the upper part of the steamer on the pan. (There must be some interval between the upper part of the pan and water in the bottom pan.) Let it steam for 45 minutes. In between see that there is enough water in the bottom pan. If it is not enough add hot water.

7) Then take the steamer off the heat. When you open the lid the paper will  be lightly wet with the condensed water.
After steaming. Notice the condensed water collected by the paper
After steaming. Notice the condensed
 water collected by the paper

8) Remove the brown paper from the steamer. It will be lightly wet with the condensed water. Some water would have seeped into the flour. Scoop the wet flour with a spoon and discard. The wastage is negligible.


Now the paper is removed. There is some water on the top. Carefully remove the wet flour and discard

9) Then turn the steamer upside down to remove the steamed flour from the steamer. The flour will be slightly hard.
After removing the tainted flour

10) Crumble it with a roller pin while it is still hot. It will be more difficult to crumble it after cooling.
While hot break the lumps with a rolling pin

11) Sift the flour to aerate the flour. You can use this flour immediately or store in the refrigerator for later use to avoid developing mold and weevil. During the second sifting there will be some flour that will not go through. Discard it.

Another alternative is to  tie the sifted flour in an old piece of cloth and steam.
When you use this method washing the cloth after use is difficult.

 
Steaming all-purpose flour  is ready .                    
                  Recipe follows in detail with pictures.


Preparation time : 15 minutes
Cooking time : 45 minutes

1) First I will sift the flour. This will aerate the flour and remove any unwanted materials. 


Sifting the flour
Sifting the flour


Sifted all-purpose flour flour
Sifted all-purpose flour


2) Then I will put a drinking glass in the centre of a steamer and then put the flour in the streamer around the glass. I will not compact it but leave it as fluffy as possible so that steam will pass through it easily.


Place a glass and add sifted flour


Now all the flour has been added to the steamer

 I will remove the glass before steaming and the centre hole provides space for the steam to penetrate the flour.


3) I will then remove the glass. When  you remove the hold the top part of the glass and shake it round a little and remove so that the flour does not fall in the center space.

Steamer if filled with flour and glass removed
Steamer if filled with flour and the glass removed

4) When you cover and steam the flour the steam will condense on the lid or cover and fall into the flour and make a mess of it. So I will cover the flour with a paper with a center hole so that the condensed water will be absorbed by the paper. Today I am going to use a clean brown paper. You can use any kind of absorbent paper like news paper. If you have it is better to use a plain paper. Fold and cut the paper according to the size of your steamer. 


Fold a paper like to cover the flour to prevent condensing water dripping on the flour
Fold a paper like this to cover the flour to prevent condensing water dripping on the flour.


Make a cut at the top
Make a cut at the top.


Cut in the centre to expose the opening when we remove the glass
Cut in the centre to expose the opening when we remove the glass.

5)Cover the flour in the steamer with the cut paper. Then I will put the lid on and steam.


Glass removed. The paper covers the flour but exposes the center hole
Glass removed. The paper covers the flour but exposes the center hole


6) I will then boil the water in the bottom pan of the steamer. When the steam begins to come out of the pan I will put upper part of the steamer on the pan. There must be some interval between the upper part of the pan and water in the bottom pan.I will let it steam for 45 minutes. In between see that there is enough water in the bottom pan.If it is not enough add hot water.

7) Then I will take the steamer off the heat. When you open the lid the paper will  be lightly wet with the condensed water.

After steaming. Notice the condensed water collected by the paper
After steaming. Notice the condensed water collected by the paper
8) I will remove the brown paper from the steamer. It will be lightly wet with the condensed water. Some water would have seeped into the flour as you can see from the right and left top in the picture here. I will scoop the wet flour with a spoon and discard. The wastage is negligible.
Now the paper is removed. There is some water on the top. Carefully remove the wet flour and discard
9) Then I will turn the steamer upside down to remove the steamed flour from the steamer. If it is sticky a sharp blow to the bottom of the steamer will release the flour from the steamer. The flour will be slightly hard.
After removing the tainted flour

10) I will crumble it with a roller pin while it is still hot. It will be more difficult to crumble it after cooling.

While hot break the lumps with a rolling pin

11)I will sift the flour again to aerate the flour. I can use this flour immediately or store in the refrigerator for later use. When we don't keep in the refrigerator it will develop mould and weevil.

During the second sifting there will be some flour that will not go through. Discard it.

Another alternative is to put the flour and the steamer in a large wok and cover it with a larger loose lid. Then the condensed steam will fall outside the steamer top. But this will mean you will have to replenish the water in the wok a few times before the flour is fully steamed. That is why I prefer to use the lid that comes with the steamer.


Another alternative is to  tie the sifted flour in a white kitchen towel or old piece of cloth and steam.
When you use this method washing the cloth after use is difficult.

I made pittu with moringa leaves from the steamed flour.
Pittu with moringa leaves
                                                     Pittu with moringa leaves

Thursday, 15 January 2015

Spicy fried pork luncheon meat


Spicy fried pork luncheon meat
Spicy fried pork luncheon meat
This is an easy recipe as we are using a canned luncheon meat. We are just going to add some spices to make the luncheon meat tastier. Fries luncheon meat can be used in sandwiches or served with any form of bread.


                                 Recipe summary 
                                           For
                     Spicy fried pork luncheon meat

Preparation time: 20 minutes
Cooking time: 25 minutes

Serves: 4


Spices 
1. Remove the luncheon meat from 1 can. Cut or mash it to form small lumps.

2. Add ½ teaspoon pepper powder, ½ teaspoon turmeric powder, 1 tablespoon chili powder (can reduce to ½ teaspoon) and mix well and set it aside.

3. Heat a medium frying pan or a wok and add 1 tablespoon vegetable oil.
Ingredients

4.When the oil is hot add ½ teaspoon cumin fry for 1 minute add 1 large onion chopped coarsely and fry for about 10 minutes, stirring frequently.

5. When the onion gets a golden brown color add 3 cloves garlic sliced into small pieces, 5 grams ginger shredded, 1 green chili sliced into small pieces, 1 red chili sliced thin, 1 sprig chopped curry leaves and fry for 3 minutes.

6. Add 1 I big tomato chopped coarsely and fry for 5 minutes.


Spicy fried pork luncheon meat
Spicy fried pork luncheon meat


7. Add the spiced luncheon meat and stir well and cook for another     7 minutes.


8. The fried luncheon meat is ready. If you like you can add an egg at the end and fry.
Stir-fried luncheon meat, sandwich, can of luncheon meat, a cup of tea, garlic, green chili and egg
Stir-fried luncheon meat, sandwich,
 can of luncheon meat, a cup of tea, garlic, green chili and egg 

Spicy fried pork luncheon meat is ready.

                                                                                  
                     Recipe follows in detail with pictures.


Preparation time: 20 minutes
Cooking time: 25 minutes
Serves: 4
Ingredients for Spicy fried pork luncheon meat
Ingredients for Spicy fried pork luncheon meat


Ingredients
Main
1 can of pork luncheon meat
Others
1 large onion chopped coarsely
I big tomato chopped coarsely
1 green chili sliced into small pieces
1 red chili sliced thin
1 sprig curry leaves
3 cloves garlic sliced into small pieces
5 grams ginger shredded
1 tablespoon vegetable oil 
Spices
½ teaspoon roasted cumin powder
½ teaspoon pepper powder
½ teaspoon turmeric powder
1 tablespoon chili powder (can reduce to ½ teaspoon)


Spices for  Spicy fried pork luncheon meat
Spices for  Spicy fried pork luncheon meat

Preparation
Remove the luncheon meat from the can. Cut or mash it to form small lumps.
Add pepper powder and turmeric powder, chili powder and mix well and set it aside.


Marinated meat
marinated meat


Method
Heat a medium frying pan or a wok and add oil.
Frying cumin and onion
Frying cumin and onion 

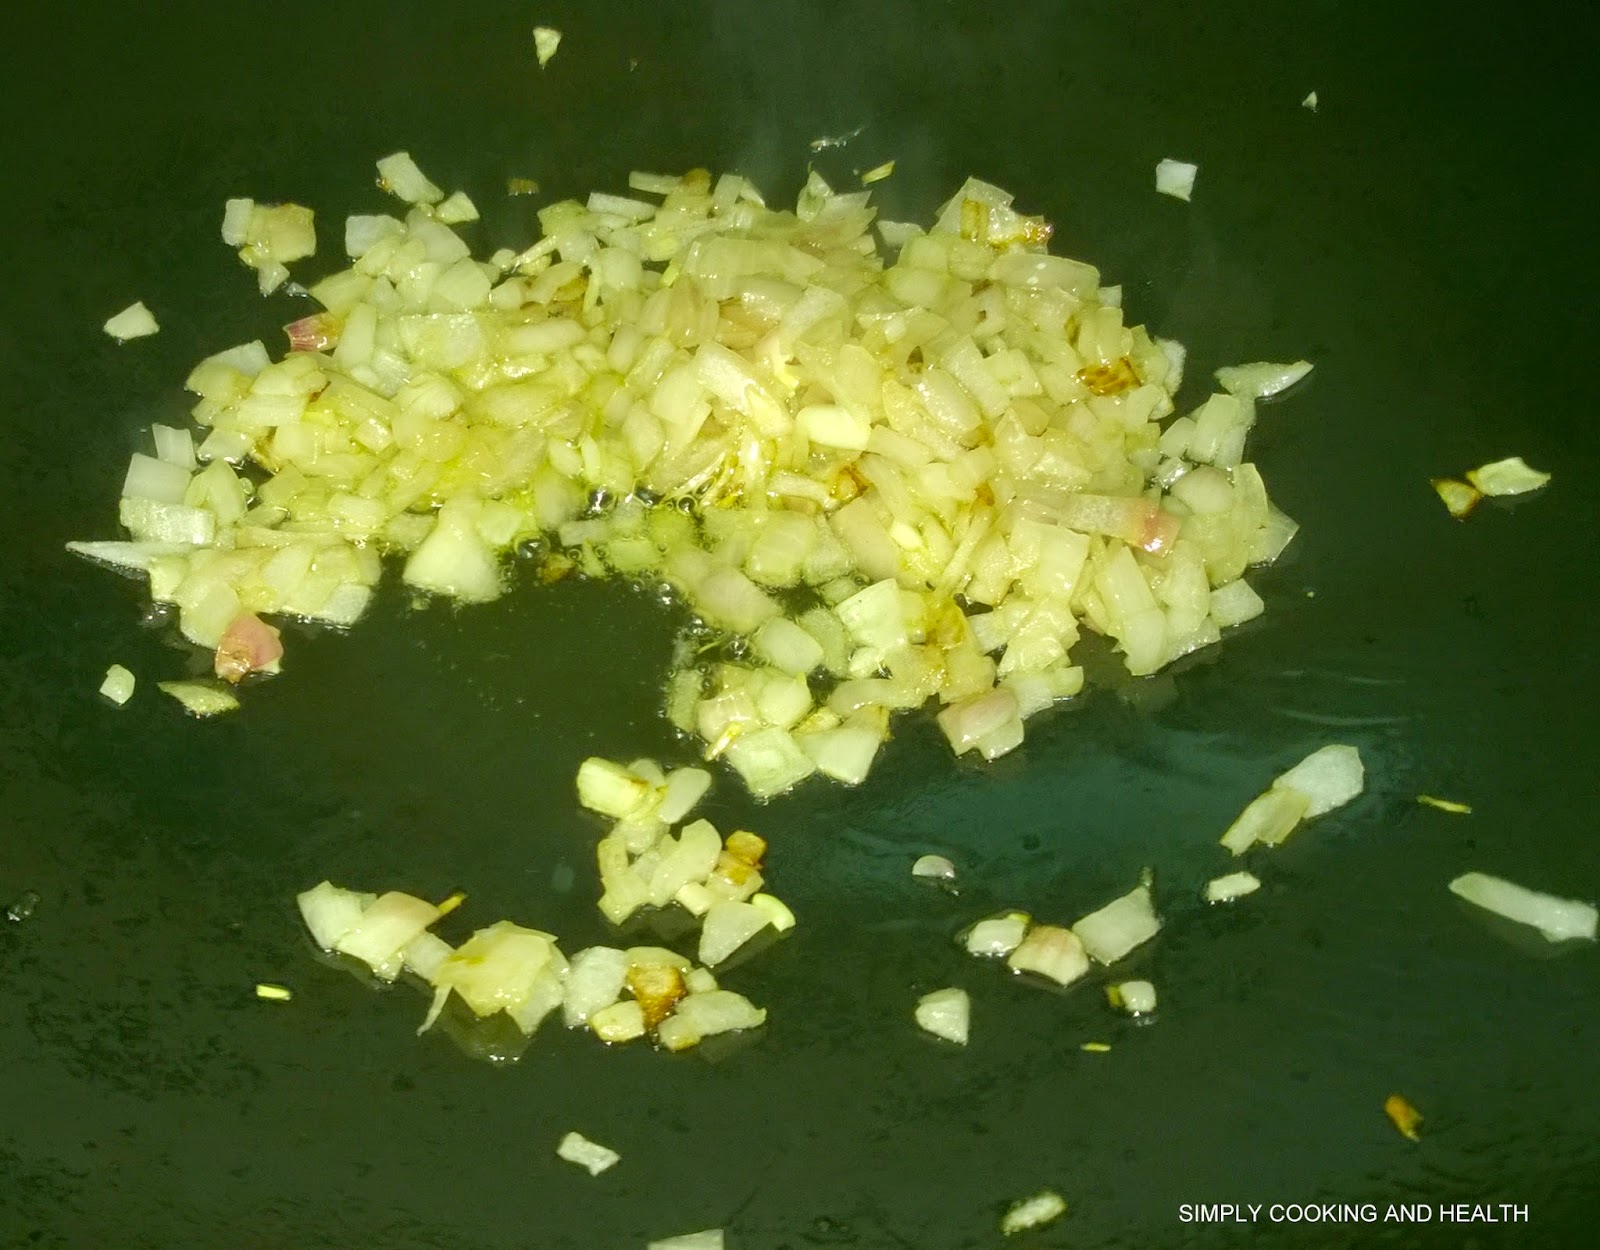
When the oil is hot add cumin seeds. fry 1 minute and add sliced onions fry for about 10 minutes, stirring frequently.
Added garlic, ginger, red chili and green chili, curry leaves
Added garlic, ginger, red chili and green chili, curry leaves
When the onion gets a golden brown color add garlic, ginger, red chili and green chili, curry leaves and fry for 3 minutes.
Tomato added
Tomato added
Add tomatoes and fry for 5 minutes.
Frying the ingredients
frying the ingredients
Pork meat added
Pork  meat added
Add the spiced luncheon meat and stir well and cook for another 7 minutes.
Final stage
Final stage
The fried luncheon meat is ready. If you like you can add an egg at the end and fry.

Serve while the dish is still warm.
Stir-fried luncheon meat, sandwich, can of luncheon meat, a cup of tea, garlic, green chili and egg
Stir-fried luncheon meat, sandwich, can of luncheon meat, a cup of tea, garlic, green chili and egg 
                                     YOU MAY LIKE TO SEE MY SIMILAR RECIPES
Fried corned beef with bread

Finished turkey fry
Finished turkey fry


Friday, 9 January 2015

Quick Spaghetti with pasta sauce, cheese and hot chili


Quick Spaghetti with pasta sauce, cheese and hot chili
Spaghetti with pasta sauce

Spaghetti is long, thin, cylindrical, solid pasta. Italian spaghetti is made from durum wheat semolina. Elsewhere it may be made with other kinds of wheat flour. It is easy to make spaghetti at home. I have made this recipe simpler by using store bought canned pasta sauce.


Sauce
Sauce


                                      Recipe summary 
                                                 For
         Quick Spaghetti with pasta sauce, cheese and hot chili
Preparation time: 20 minutes
Cooking time: 20 minutes
Serves: 4


Preparation 
1. Wash,wipe and cut 50 grams cherry tomatoes into half. 
2. Remove the main fibre from 50 grams now peas by making a small incision at the tip and pulling it and cut.. 
Ingredients
Ingredients

3. Clean and cut 50 grams asparagus into small pieces.
4. Clean and cut bell pepper into small pieces.
5. Cut 1 large onion into small pieces.
6. Cut 2 red chillies into fine pieces.
3. Boil water with 1 teaspoon of salt and a tablespoon of oil in a large sauce pan.   
4. Add ½ packet of spaghetti and stir once to keep the stands from sticking together.
5. Cook for 45 minutes partially covered. Boil the spaghetti becomes soft. It should be firm (al dente) but not hard. 
6. Drain and set aside.

Method

1. Heat 2 tablespoon oil in a large frying pan or a wok. When the oil is hot add the onion and reduce the heat to medium and 
fry for about 10 minutes or until the onion becomes translucent.

2. Add sliced red chili pieces and fry for about 2 minutes.

3. Add snow peas and continue to fry for about 3 minutes. Do not over fry the snow peas because they will change colour
 quickly and will lose their appeal.
Sauce
Sauce


4. Add the tomato pieces and fry for another 3 minutes.

5. Add asparagus and bell pepper.

6. Add the contents of 1 bottle pasta sauce to the frying pan. The sauce will be thick. If you want it to be slightly thin add a few tablespoons of water. Mix well and fry for another 3 minutes to warm up the sauce.

7. Add the cooked spaghetti to the sauce and boil for one or two minutes.

9. Add 50 grams shredded cheese.
Quick Spaghetti with pasta sauce, cheese and hot chili
Spaghetti with pasta sauce

The spaghetti is ready. 

Serve it while hot with pickled olives on top. Shake ½ teaspoon pepper powder pepper powder on top.
Alternatively you can also serve the spaghetti and pour the sauce on top and then add cheese and olives.

The hot chili is the prominent ingredient in this dish.

Quick Spaghetti with pasta sauce, cheese and hot chili is ready.
                                                                                 
                                   Recipe follows in detail with pictures.
                     
                                      
Preparation time: 20 minutes
Cooking time: 20 minutes
Serves: 4
Cherry tomato,asparagus,bell pepper, snow peas and red chili


Ingredients
Ingredients

Ingredients
Main
½ packet of spaghetti
Others
50 grams asparagus
1 green bell pepper50 grams snow peas sliced into small pieces
50 grams tomatoes
50 grams of pickled olives
2 red chillies
1 bottle pasta  sauce
50 grams cheese shredded
1 large onion cut into small pieces
1 teaspoon salt
2 tablespoon oil
½ teaspoon pepper powder
Grated Cheese
Grated Cheese


Preparation
I used cherry tomatoes. I halved them. If you are using a large tomato cut it into small pieces.
You can remove the main fibre from the snow peas by making a small incision at the tip and pulling it. Adding oil will prevent the strands from sticking to each other.
Clean and cut 50 grams asparagus into sdmall pieces.
Clean and cut bell pepper into small pieces.
Cut 1 large onion into small pieces.

Cut 2 red chillies into fine pieces.
Boil the spaghetti according to the instructions on the packet. I heated water in a large sauce pan.  I added 1 teaspoon of salt and a tablespoon of oil to the water. After the water comes to a boil I added the spaghetti and stirred once to keep the stands from sticking together. I cooked for 45 minutes partially covered. You should stop boiling before the spaghetti becomes soft. It should be firm (al dente) but not hard. Drain and set aside.

Method
Heat the oil in a large frying pan or a wok. When the oil is hot add the onion and reduce the heat to medium and fry for about 10 minutes or until the onion becomes translucent.
Frying onion
Frying onion

Add sliced red chili pieces and fry for about 2 minutes.
Adding chili
Adding chili

Add snow peas and continue to fry for about 3 minutes. Do not over fry the snow peas because they will change colour quickly and will lose their appeal.
Adding snow peas
Adding snow peas

Add the tomato pieces and fry for another 3 minutes.
Adding tomato
Adding tomato

Add the contents of the pasta sauce to the frying pan. The sauce will be thick. If you want it to be slightly thin add a few tablespoons of water. Mix well and fry for another 3 minutes to warm up the sauce.
Adding the sauce
Adding the sauce


Water added
Added water
Add the cooked spaghetti to the sauce and boil for one or two minutes.
Added Spaghetti with cheese on top

The spaghetti is ready. Serve it while hot and sprinkle the cheese and pickled olives on top. Shake a little pepper powder on top.
Alternatively you can also serve the spaghetti and pour the sauce on top and then add cheese and olives.
The hot chili is the prominent ingredient in this dish.
Finished spaghtti
Finished spaghetti


YOU MAY LIKE TO SEE THIS


Spaghetti with baked chicken and cheesy white sauce